In this article, we will explore the process of accessing an Azure Storage Account's SFTP using a Data Collector configured with an SFTP/FTP/FTPS Client origin.
Pre-requisite is to create the Azure SFTP account and for that you will need to perform the following steps:
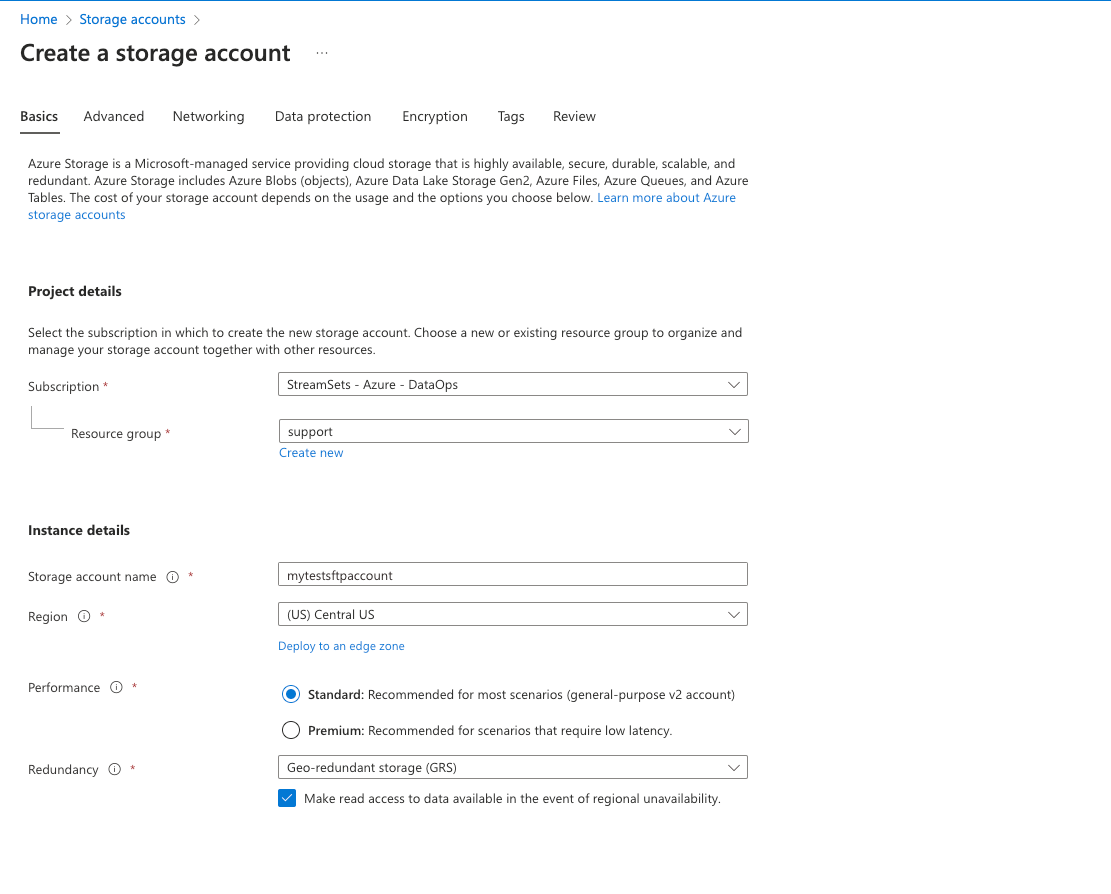
- Login to Azure Portal → Storage Account → Create New Account →

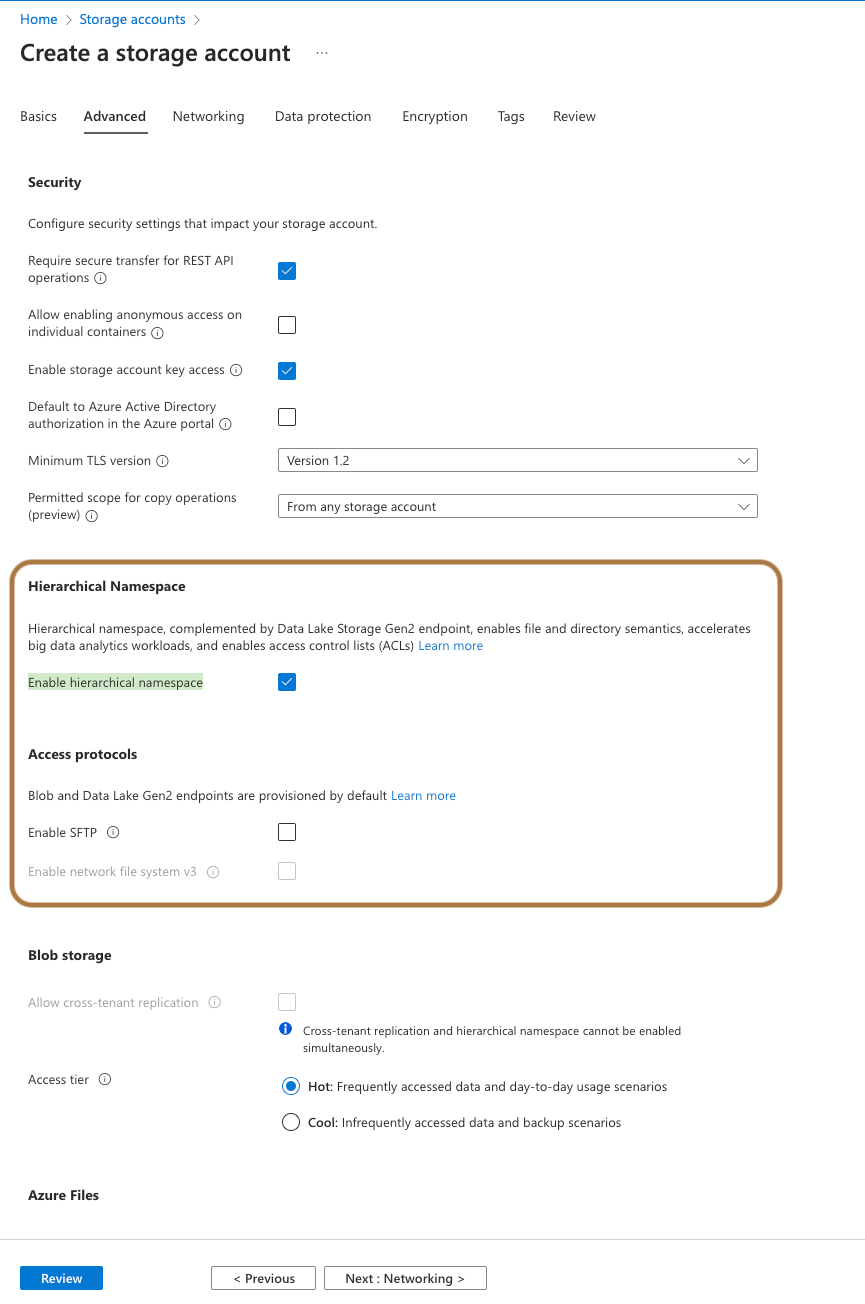
- Make sure to enable the Hierarchical Namespace option to visible the SFTP option.

- Make sure to setup the Network connectivity section as per your environment. This will work like a firewall to your storage account which control the incoming connection to the storage account.
- Once the storage account is created navigate to the SFTP section and create the user to access the SFTP location. We also have to provide the container location where all the files will be saved or available.

- Once the user is created, you will be prompted the temporary autogenerated password.
Now, Azure Storage account is created and SFTP service is enabled as well. Lets prepare the pipeline to access the data from SFTP to local machine.
- Update the SFTP user connection string and password that you are get the SFTP section on storage account page.
- Make sure to enable the SFTP otherwise connection will fail.
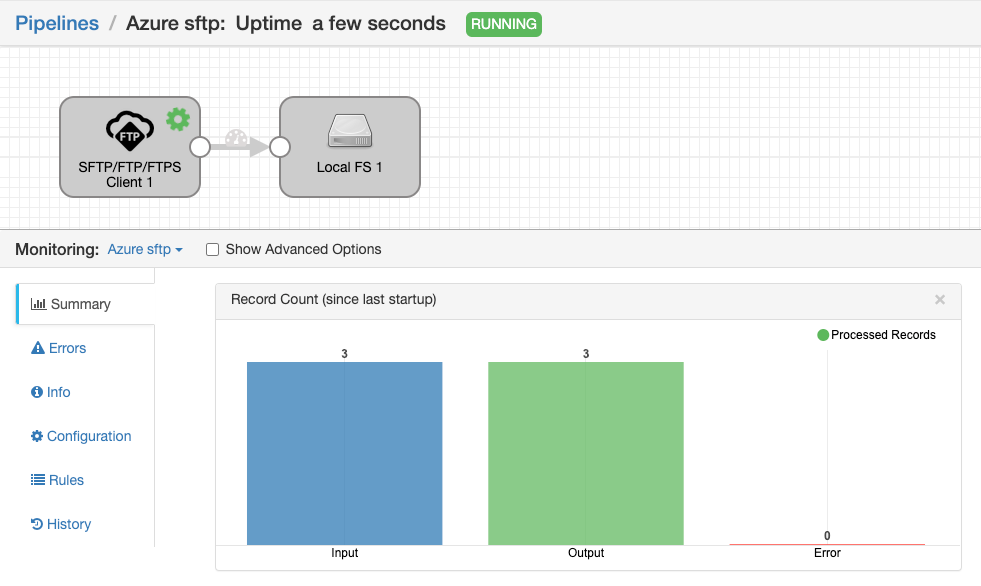
Here is my test pipeline:


